Table Of Content

This workbench follows the traditional style as well. They give you a detailed list of tools and materials you will need in order to build it successfully. So this workbench is really awesome because they give you a detailed materials list and detailed plans to help you with the build.
Person Picnic Table - Free Plans
If you want to start your own woodworking journey, first, you need a workbench. Without a workbench, everything in your workspace is going to be a whole bunch of mess. You can use it as miter saw stand, as a work table to build projects or as a finishing station. Once you're done with your project, simply fold it up and store it away. It has tons of storage on all four sides for the tools, small parts, and other items I use to build projects every day. The t-track worktop is great for clamping and holding pieces in place during assembly.
Double-Duty Workbench Plan
So a lot of people find themselves working on a tight budget when building something like a workbench. But you really don’t want to spend hundreds of dollars on building it. But it also has multiple pull-out drawers which are great to store smaller items as well. So if you want a workbench that looks great but is also easy to build then this could be it. This workbench looks fancy but it can actually be broken down and built easily by even a beginner at carpentry. It has a large storage shelf beneath the workbench.
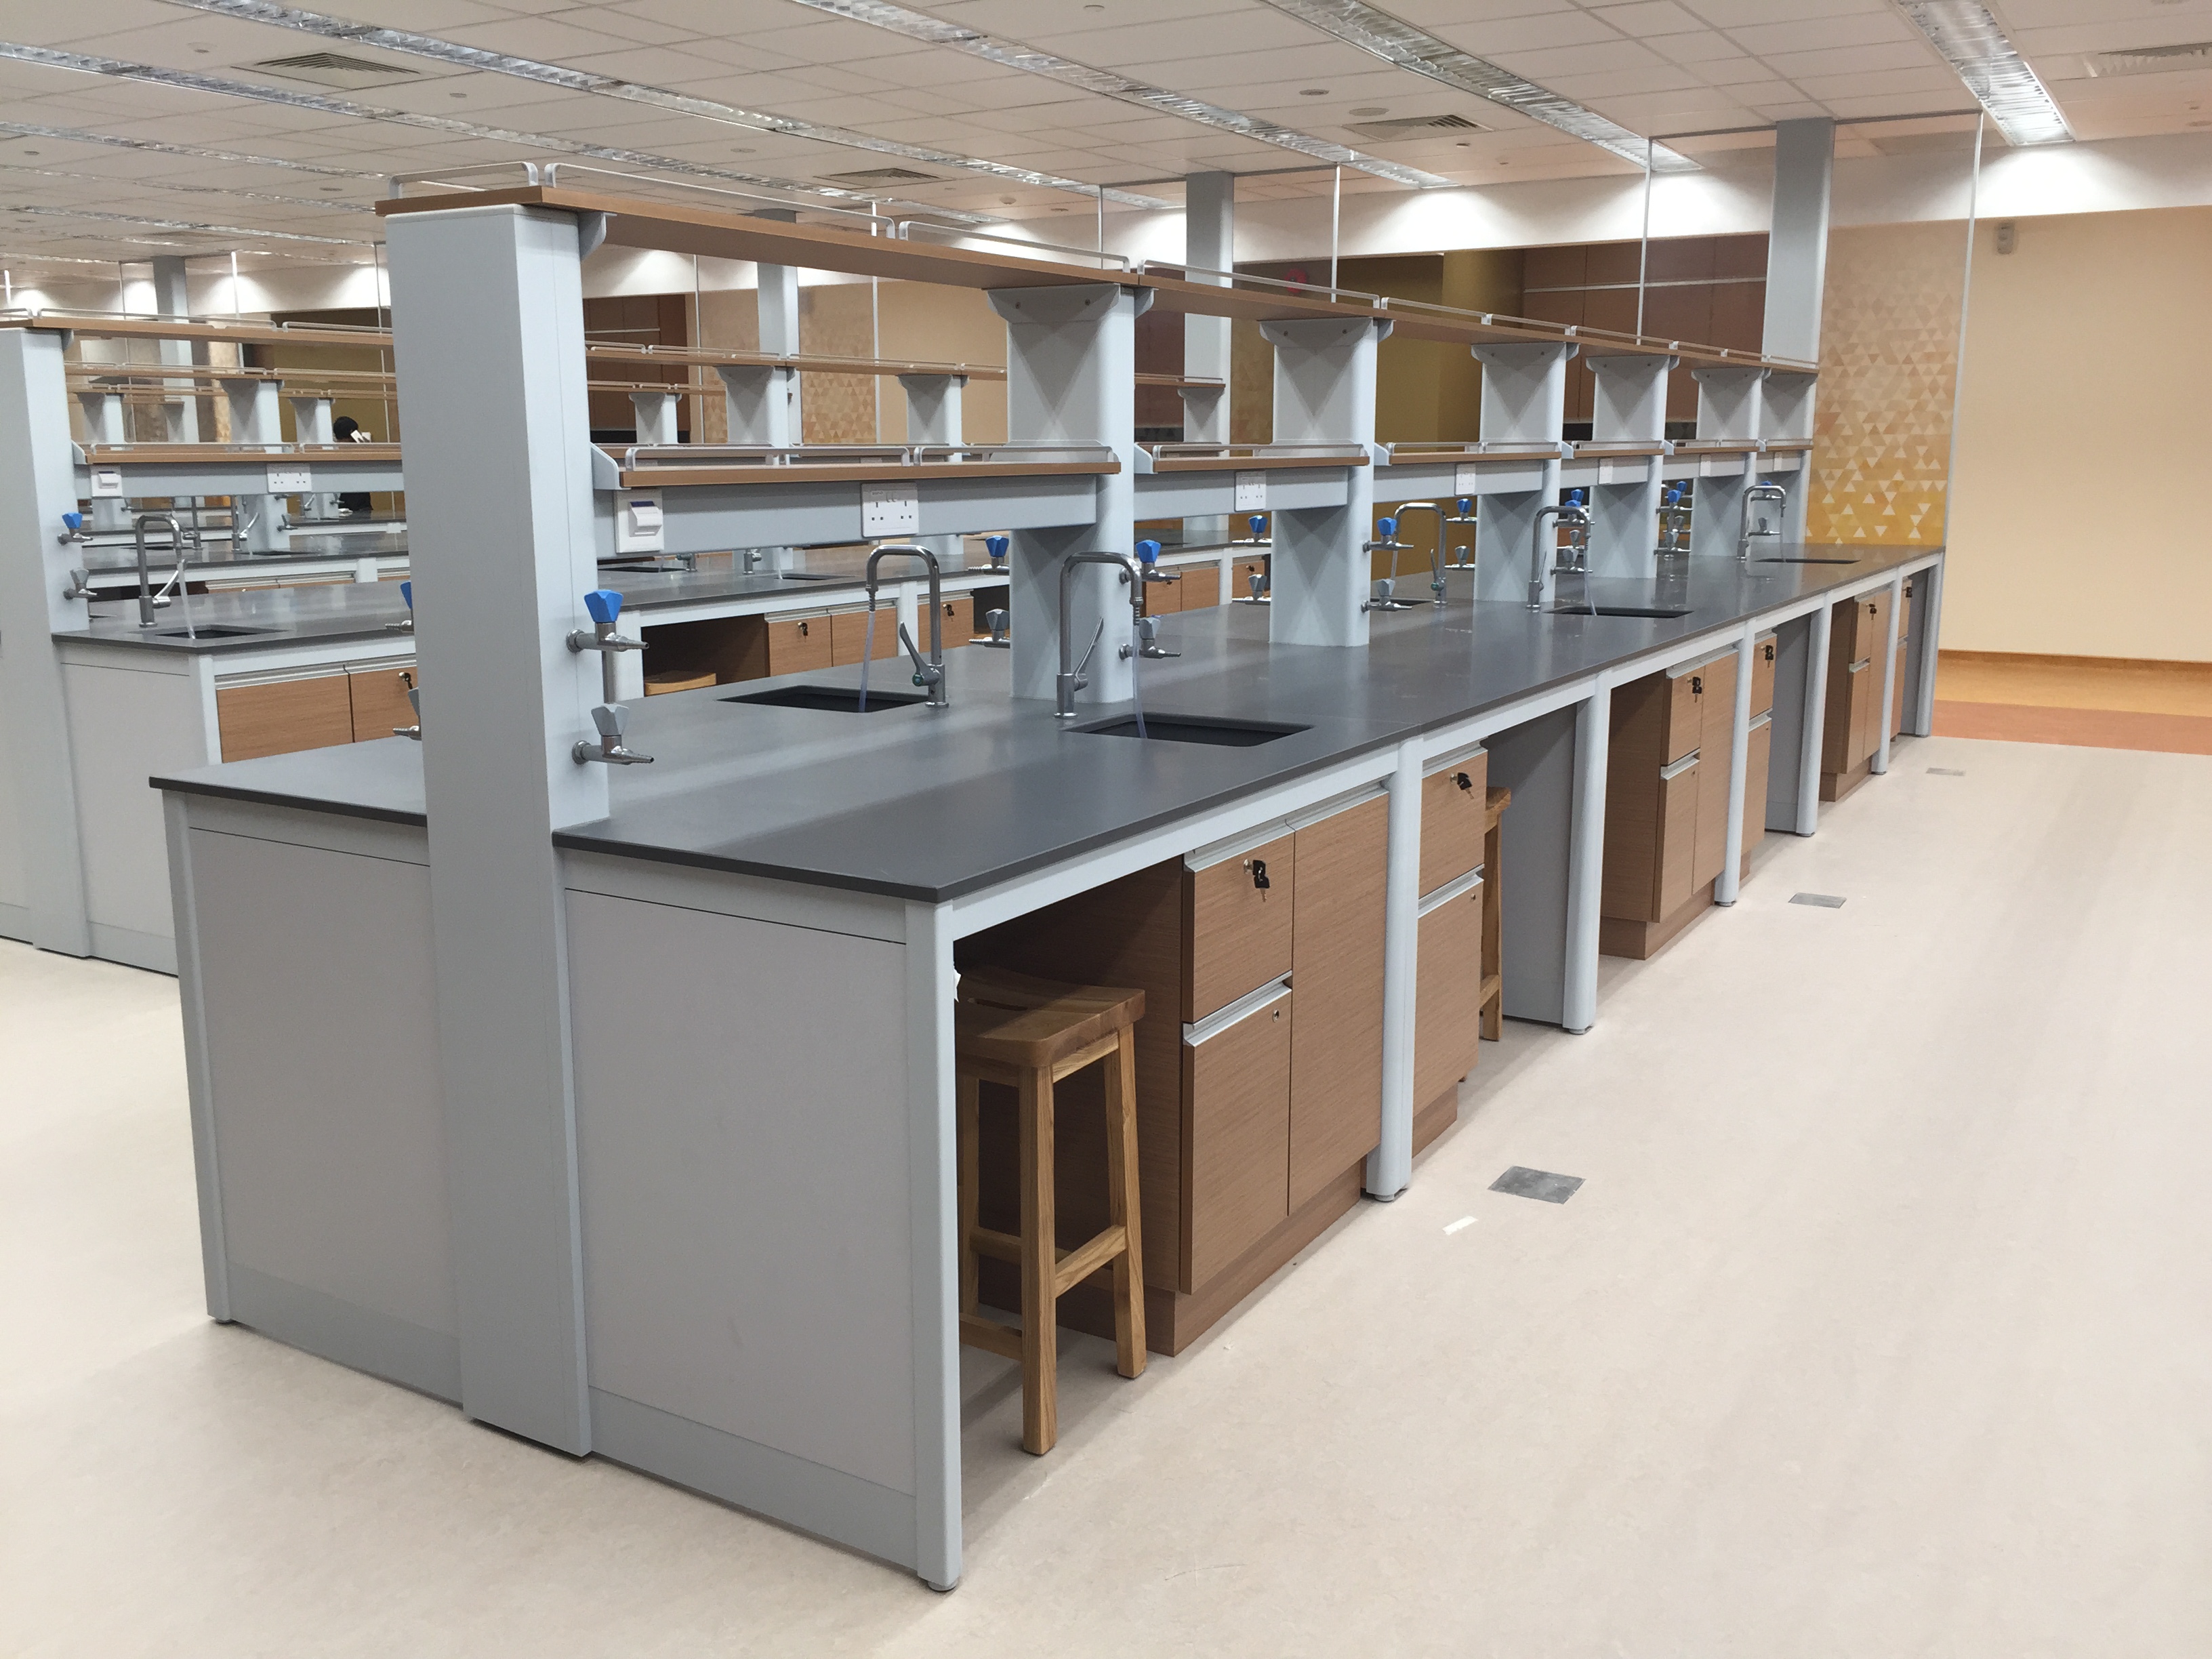
Basic Workbench
Additionally, remember to pay attention to the extra notes for the most complete result. One prominent advantage of this plan is the author measured the size and dimensions of each material carefully. He/she also mentioned the actual plywood thicknesses for your better preparation. DIYnetwork.com recommends rolling storage that can slide under your workbench- this is a nifty way to conserve floor space. If you have really miniature tools that can fit on the pegboard, you can make a copper tube miniature tool organizer to stick in drill bits and other fine instruments. If you have the space, installing some cabinets could be a good idea.
Real Woodworker’s Workbench
This is a small-sized workbench with rollers for easy transporting. Besides, it’s solid enough to load all of your tools inside. You can build yourself a new workbench for only $25 and adjust the amount of materials for a larger or smaller size (the cost will change accordingly).

Cheap DIY Workbench on Wheels
No glue is required since the building method is full-nailing a tongue and groove together. With this plan, you can turn any old wooden furniture in your house into a brand new table saw for woodworking. Thanks to the simple design, the instruction is also a piece of cake. This workbench can easily fit in the corner of your shop and still leave plenty of working space for you. Like the children’s workbench, it can be done in a few minutes easy with a Kreg Jig, no glue required.
The Evolution of Data Science Workbench - Uber
The Evolution of Data Science Workbench.
Posted: Thu, 10 Jun 2021 07:00:00 GMT [source]
DIY Kids Workbench
Whether you're a beginner or an experienced woodworker, we believe that there is always something new to learn. Timothy Dale is a home improvement writer who has been in the industry for several years. He always ensures readers get the information they need to tackle their next project.
Super Workbench
The best workbenches of 2023 - Popular Science
The best workbenches of 2023.
Posted: Wed, 28 Dec 2022 08:00:00 GMT [source]
This project is simple, so nearly anyone should be able to use it. However, you can also use it as sturdy, low shelves in a basement or garage. You can modify the design to include more shelves if you wish, as the basic design only comes with two shelves (or one shelf and a workspace). The project is also simple, with only 3 main steps. The tools and materials list are both comprehensive. A video is also included so that you can watch and build the workbench simultaneously.
Travel Workbench Idea
It is worth noting here that when you shop for your timber for this project, try to find the straightest boards possible. That includes looking for planks that have little to no twist in them. I bring this up as this step will not be necessary if you take your time when cutting them out. This might not be the best project to cut your first mortise and tenons on. It is worth noting that bolts and wood glue are used to hold parts in place once they are assembled. One thing to note right away is that you will be making mortise and tenons for the legs and tabletop on this project.
When you are done with the tool, just flip the flipping station to store the power tool underneath the worktable. The flat side of the flipping station is then free to use as a tabletop surface. This heavy-duty workbench plan is deceptively easy to make and built to last.
It’s designed to be set against a wall and is not portable, though. For those who want a cheap and inexpensive workbench, you may want to consider this option. It has basic PVC pipes as the bottom and solid wood as the top. The build is simple and can be accomplished by just about everyone, even beginners.
Generally, this bench should only cost around $100. You’ll need a few basic boards of wood, wood glue, and screws. To be honest, the woodworker community never runs out of space-saving ideas.
Woodworking bench designs can vary in size, shape, style, and features. You can choose the one that fits your space and skill level. Make a space-saving workbench for your DIY projects with this easy step-by-step guide. Start by digging through your scrap wood collection to construct the base of the bench, then mount it on the wall with a pegboard and all the necessary tools. Finally, adorn your workspace with a heavy-duty folding workbench that will easily fold against the wall when not in use. Not every workbench needs to have a unique design and innovative new features, especially when a sturdy, standard workbench is ideal for most DIY projects.


No comments:
Post a Comment